

You'll also need
(See below)
Please save, share, and follow us: YouTube Channel Pinterest Facebook Instagram
At the Quilt Festival in Houston we met Jeannie, an incredible woman who has created software that turns your photos into kaleidoscope patterns.
Download the graphic below, used to create earrings which were showcased in Beadwork's Handcrafted Jewelry Magazine! Or go to KalCollections.com to use the Kaleidiscope Kreator Software and convert any photo into a kaleidoscope design.
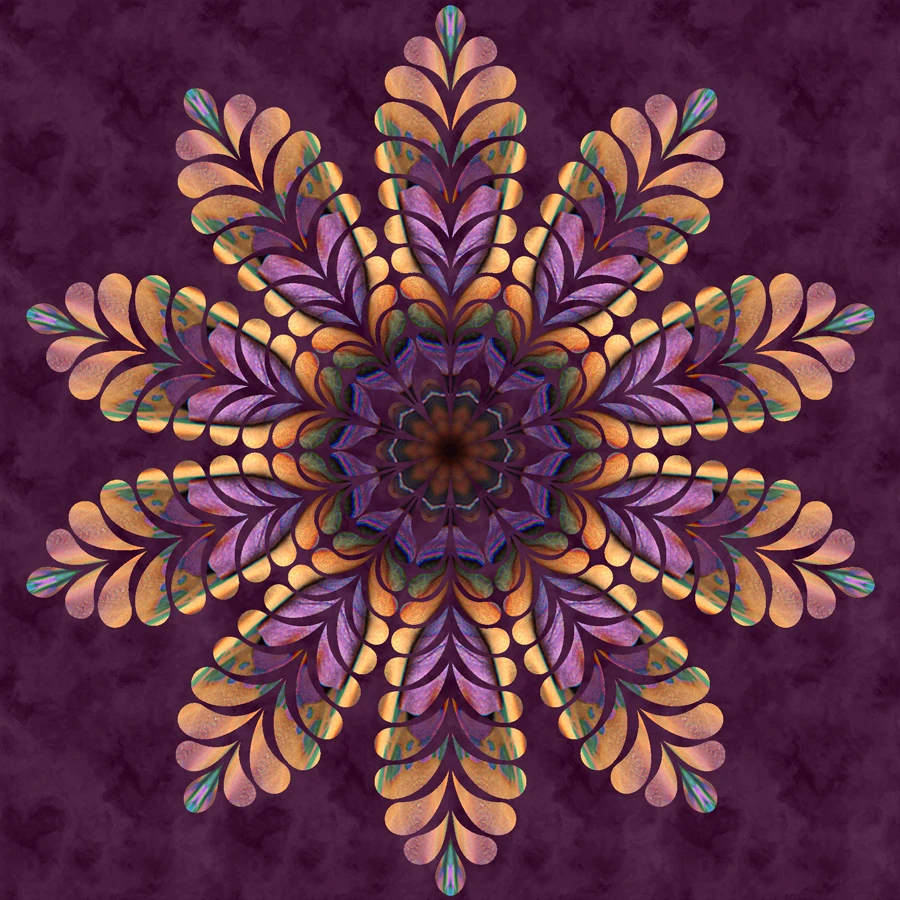
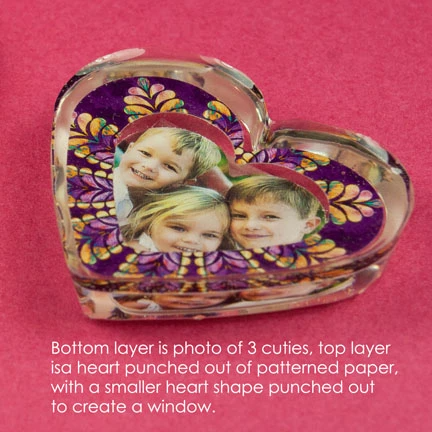
Traditionally used with fabrics (quilting+), and paper crafting, Jeanie's kaleidoscope software can keep the people in your pictures as the focus, or turn them into patterns. These ones were reduced, printed on our Special Photo Paper, then made into Little Windows pendants using both the Casting and Doming techniques!
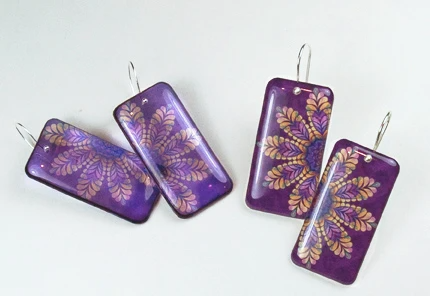
HOW-TO: Lightweight and waterproof, these gorgeous earrings are made by coating kaleidoscope images with resin. You can make them any size and shape you like!
Materials:
- 1-1/2” square Kaleidoscope image
- Special Photo Paper for Resin 4x6
- Little Windows Brilliant Resin with measuring cup and mixing wand
- Paper towels
- Ear wires (or headpins to create your own)
Tools:
- Computer and inkjet printer
- Scissors
- Doming tray
- Spring Drill
- Piece of cardboard or wood to drill on
Finished Size:
- These earrings measure 1-1/2” x ¾” plus ear wire, but you can make them any size you like.
Tips:
- In place of this kaleidoscope graphic, you can use other photos, heavy scrapbook paper, magazine covers, or fabric backed with cardstock. You can also try printing on clear photo film, to make pieces that look like glass!
- Prepare multiple pieces to be coated, as one batch of resin (1 TBSP), can coat about 10 pieces, or about 15 square inches.
- Use this same technique and your extra pieces to create pendants, keychains, bracelets, zipper pulls, and other coordinating creations!
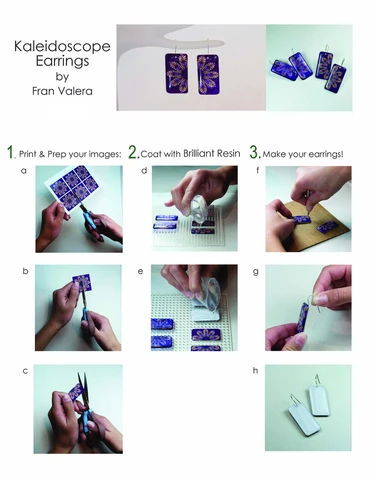
Print & Prep your images:
- First you’ll need to print the kaleidoscope image on 4x6” Special Photo Paper, using any inkjet printer.
- Using our Cropping Software, Microsoft Word or Photoshop, you can resize and duplicate this image, or fill your sheet with other images to make the most of your photo paper. Print at the highest resolution your printer offers.
- Cut printed squares apart, cut each square in half, and round the corners so they’re not too sharp once resin is added.
Coat with Brilliant Resin:
- Arrange your cut photos on doming tray, leaving at least ½” of space around each.
- Measure 10ml of Part A and 5 ml of Part B into cup, mix slowly for 2-1/2 to 3 minutes, be sure to mix around the bottom edge of the cup with the point of the wand, then allow the resin to rest in the cup for 5-10 minutes before using.
- Pinch measuring cup to form a spout, and drip resin slowly into the center of each cut-out shape, forming a puddle. Be conservative, allow the resin a minute to flow to the edges. The bumps on the doming tray allow the resin to easily detect the edges of your cut-out shape, so it knows when to stop flowing. If it doesn’t make it all the way to each edge, simply use your mixing wand to add a few more drops of resin, or to pull the resin to the dry corners. The resin will automatically self-level and create glossy “domes” on each piece, rounding down to the edges.
- Cover so that no dust can settle on your pieces while they set up. Let them rest for 10 minutes, then check for any stubborn bubbles that haven’t popped on their own.
- Allow to cure (about 12 hours).
- For a more finished look, flip your pieces over and coat the back side too, repeating the steps above.
Make your earrings!
- Measure and mark the top center of each piece, about 1/8” down from the top edge.
- Place your piece on cardboard, wood or other protective surface. Use our Spring drill to drill through each piece.
- Straighten ear wires and feed one through each hole. Bend them back into shape, and they’re ready to wear!
Here are some other projects made using Brilliant Resin with the Kaleidoscope Kreator Software.
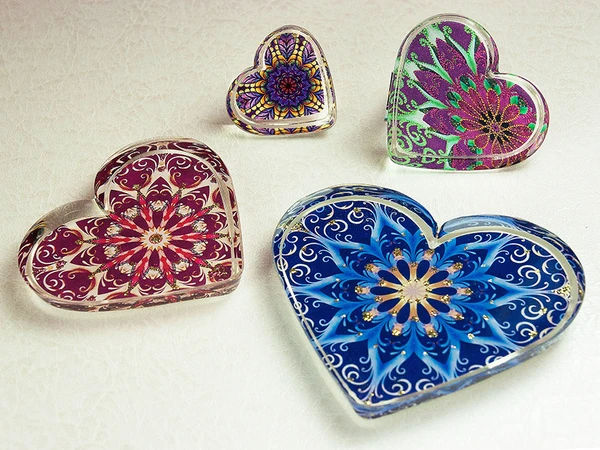
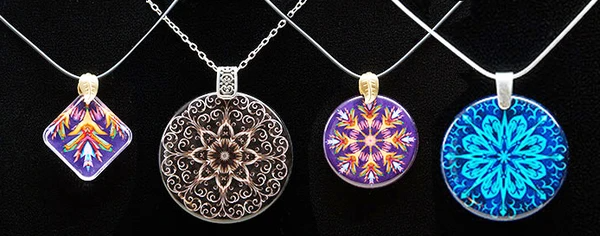
MORE IDEAS using the same awesome products:


