

You'll also need
- Whatever you'd like to embed in your resin cabochons
- Sharp scissors
- Paper towels
Please save, share, and follow us:
YouTube Channel Pinterest Facebook Instagram
Soooo much fun to be had with our Silicone Cabochons Mold!
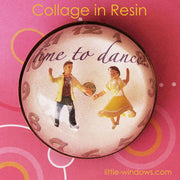
In this piece I started by gathering the elements I wanted to layer:
- Miniature dancing couple
- "Time to Dance" printed on our Clear Photo Film to float behind the dancers
- Printed clock face to fit my 2" cabochon, then hand painted the numbers gold. You can't see them well in this photo, but they really catch the light.
- Super-fine glitter to add to the back layers
- A metal bezel for this piece to fit into. You can use yours as a knob, paperweight, magnet, or ornament.
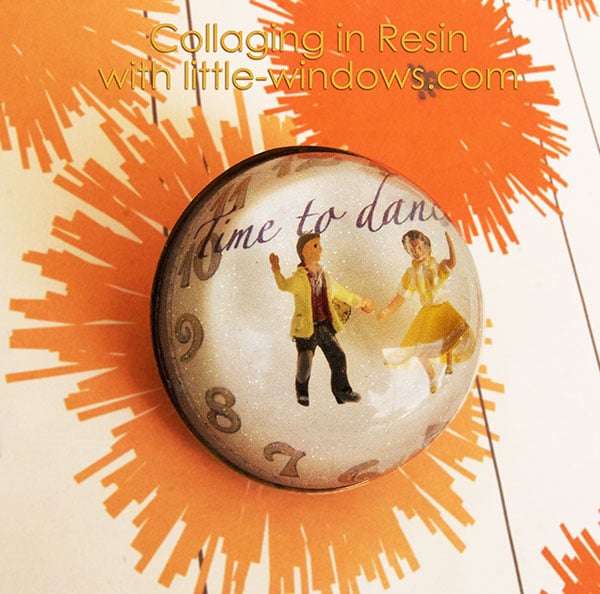
Here's the same piece from a different angle.
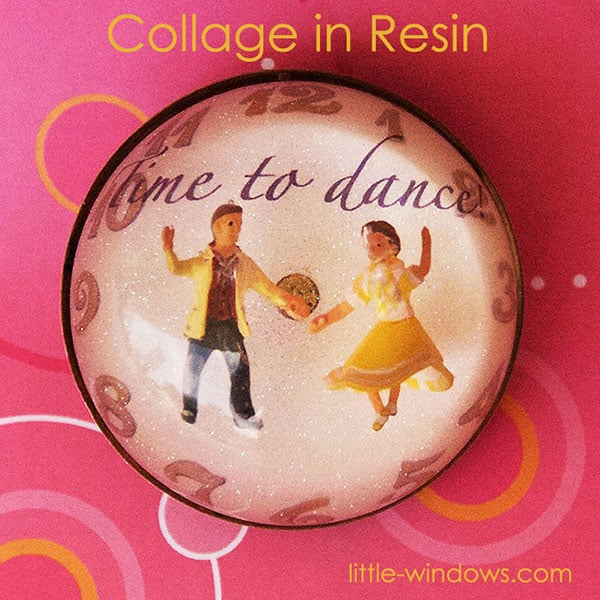
When working in your Cabochons, you have to work in reverse, whatever you want to be in the front has to go first in the bottom of the mold. With the front layer, I poured clear resin about half-way up the cabochon cavity, let it set for about 1 hour to thicken, then inserted my dancers. This helped keep them from falling down to the bottom of the cavity.
Then I placed the "Time to Dance" piece behind them. I let that set up , then poured another layer of resin with a bit of glitter mixed in, and finished off with the clock face on the back.
Jewelry Making
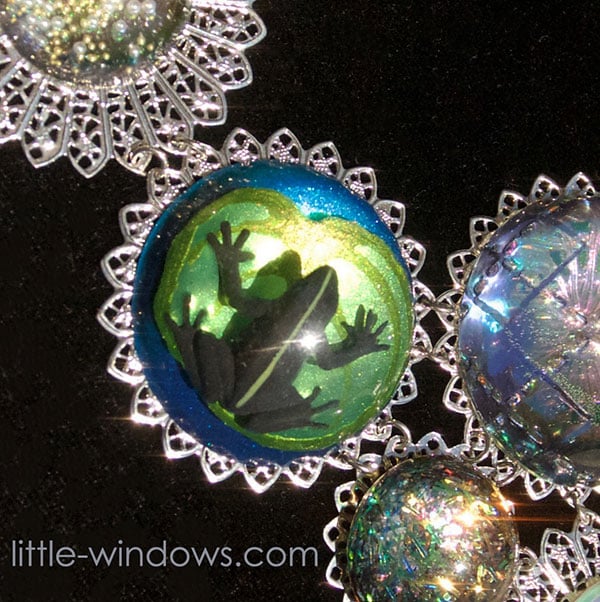
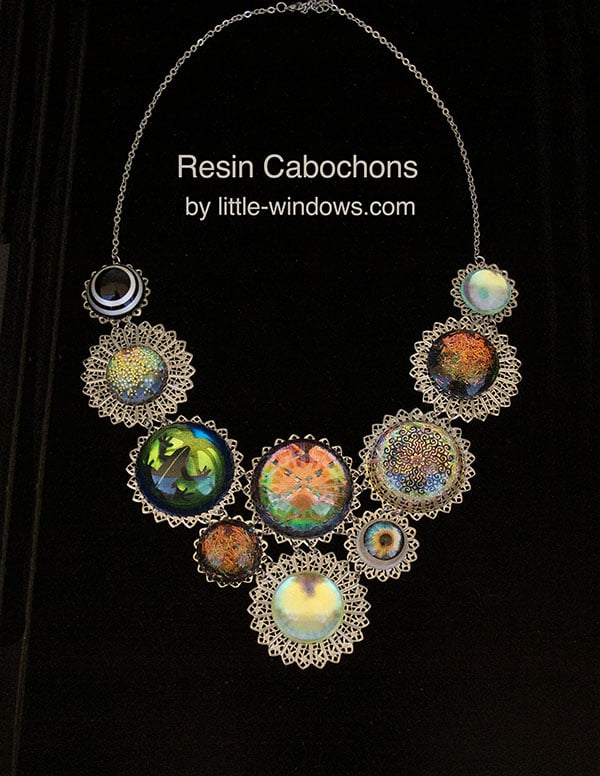
In this piece I embedded the plastic frog in a layer of clear resin, let that set up, then painted the lily pad with metallic acrylic paint. I let that set up, then poured another clear layer, let that set, and painted the back with blue metallic acrylic paint. This cabochon was mounted as part of a necklace.
Door Knobs and Drawer Pulls
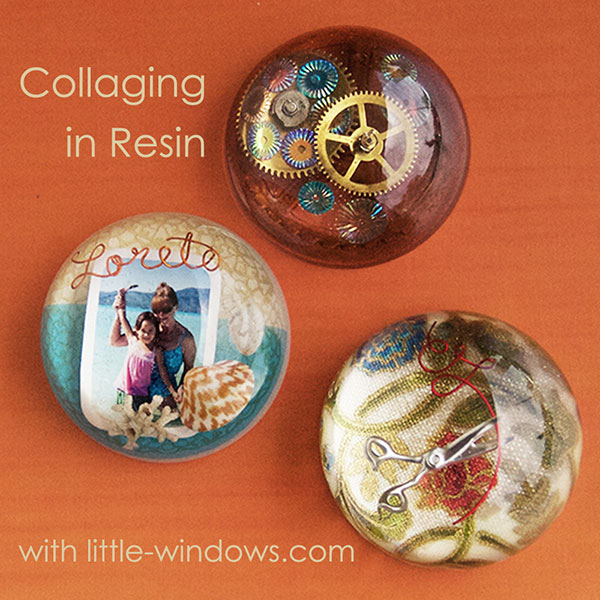
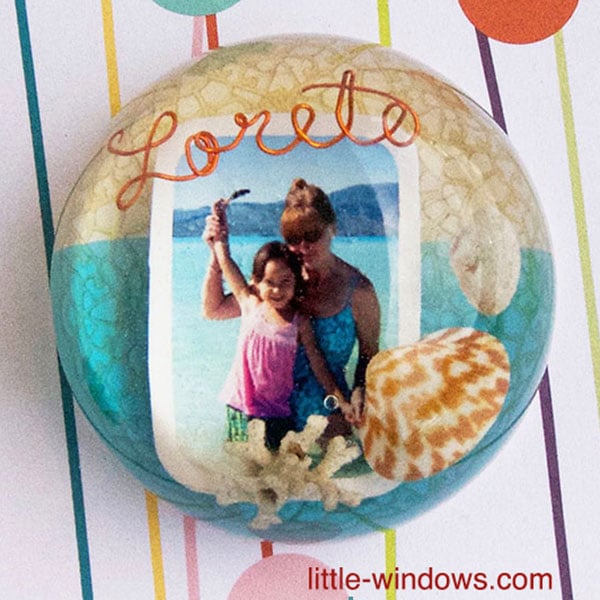
Here are some more projects where I used layering to create dimension with the items I embedded.
Keychains and Other Keepsakes
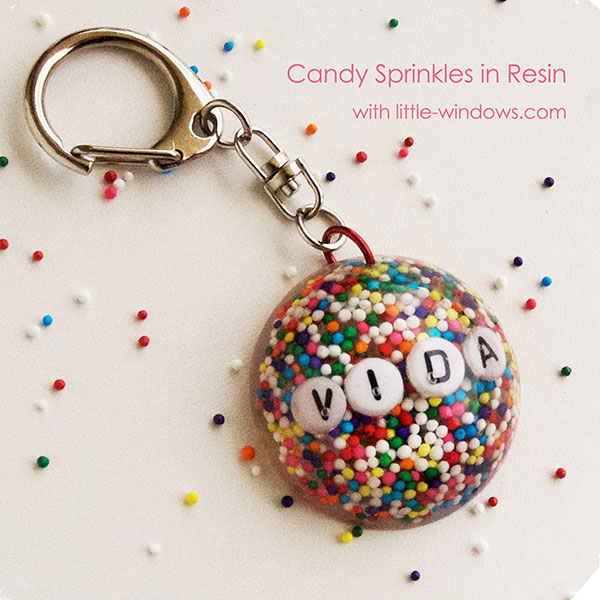
Again, I poured a clear layer and added the letter beads, let that set up, then did another layer with the candy sprinkles.
Collage Mixed Media and More!
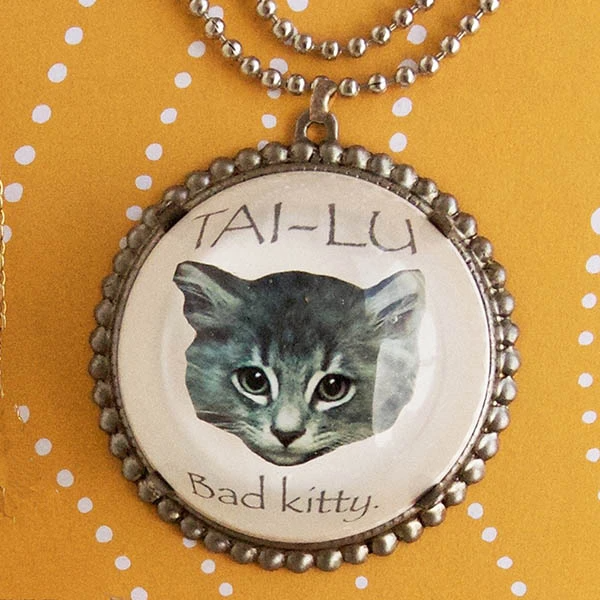
And in this one I cut out our kitty cat's head and layered that with her name and type printed on Clear Photo Film. I then backed it with a layer of white resin made with our White Resin Colorant.
- All Effects
- 3-D
- Bendy Resin
- Bezels
- Casting
- Thin Coat/Varnishing
- Dichroic/Color Shift
- Doming
- Doming-Up
- Double-sided Doming
- Flowers in Resin
- Embedding Elements
- Feathering/Swishing
- Glow In The Dark
- Ink Effects
- Layering
- Making Multiples
- Marble Effect
- Ocean Looks
- Personalizing
- Petri
- Punch Projects
- Resin On Fabrics
- Resizing Images
- Ripple Effect
- Special Effects
- Stamping
- Stone Effects
- Surface Finishes
- Twisted Resin
- Wire Work
- All Types
- 3-D Projects
- Bookmarks
- Bracelets
- Buttons
- Cabochons (half-spheres)
- Candle Votives
- Charms
- Coaster
- Cosplay/Costumes
- Decor
- Dishes/Containers
- Earrings
- Fandom
- Frames
- Games
- Hair Accessories
- Heart Shaped Projects
- ID Tags/Markers
- Keychain
- Knob/Pulls
- Magnets
- Memorabilia
- Necklaces
- Ornaments
- Paperweight
- Patriotic
- Philatelic (stamps)
- Photo Keepsakes
- Pins
- Prayer Beads
- Resin Eyes
- Rings
- Sun Catchers
- Zipper Pulls
- All Events
- All Special Events
- All Holiday
- Pets
- Ancestry/Family
- Wedding
- Anniversary
- New Baby
- Faith
- In Memory of
- Solidarity/Awareness
- Game Day
- New Year
- Valentines
- Easter
- Mother's Day
- Graduation
- 4th of July
- School Days
- Halloween
- Christmas
- More Special Occasions
- All Materials
- All Resin Colorants
- All Organic Matter
- Alcohol Ink
- Acrylic Paint
- Ashes
- Beads
- Black and White Looks
- Candy
- Clear Photo Film
- Color-Shift
- Crystals
- Dichro-ISH Films
- Dried Flowers
- Fabric/Fiber
- Glitter
- Glow In The Dark
- Hair
- Liquid Colorants
- Nail Polish
- MakeUp
- Metal
- Mica Powder
- Mixed Media
- Papers
- Photos
- Plastics
- Polymer Clay
- Postage Stamps
- Resin Color Film
- Sand / Stones
- Sequins
- Shells
- Shrink Films
- Stickers
- Washi Tape
- Wire
- Wood

