-
Adding Findings to your Resin Creations
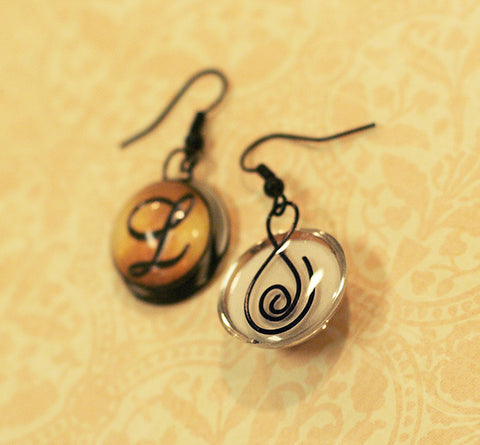
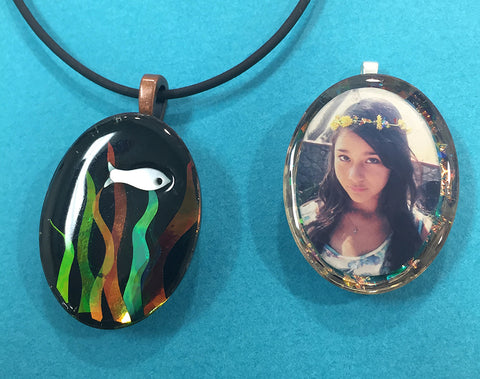
There are many ways you can add findings to your resin creations, turning them into jewelry, accessories, buttons, or decorative items like the ones shown below.
SCROLL DOWN FOR HOW-TO VIDEOS
Drill a hole:
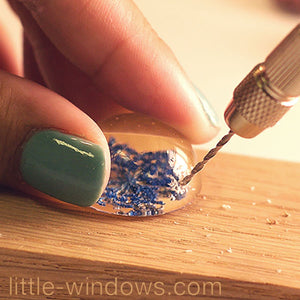
You can drill holes into or through your resin pieces. Then you can either glue in an eye-screw, or add a jumpring, a headpin, or a wire through the hole. If your piece is clear, drill at an angle so the finding will hide the white drill line.
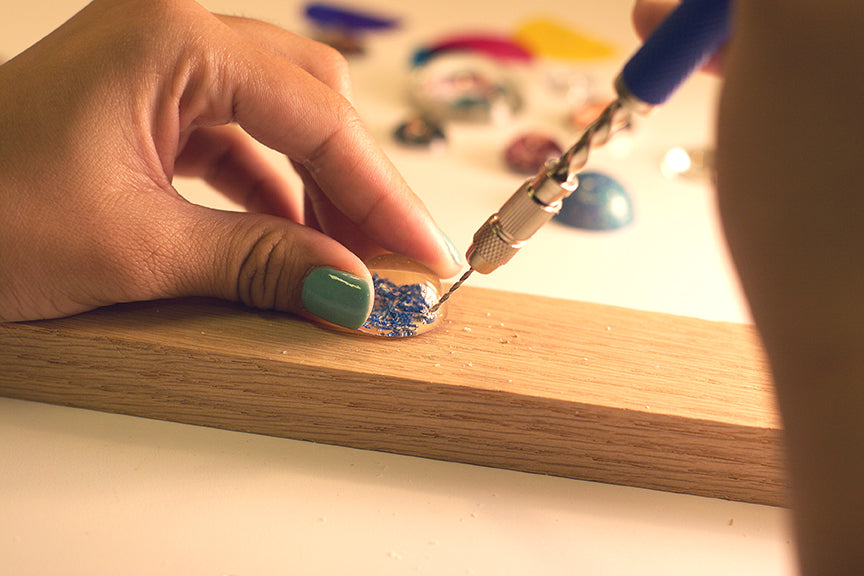
If your piece is colored, you can drill straight in and then glue in an eye-screw
finding.


Embed findings in resin:
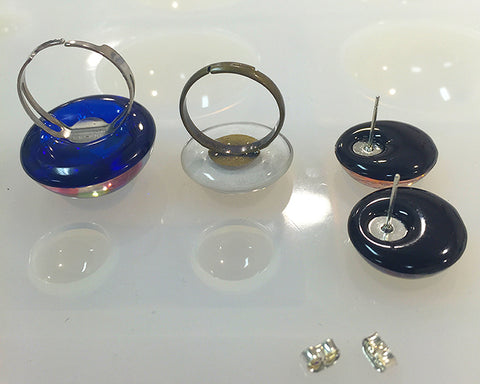
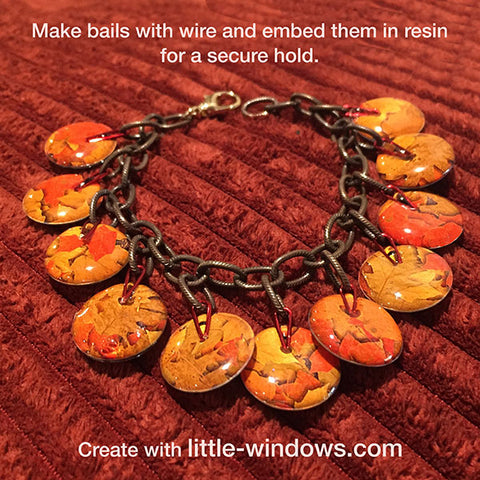
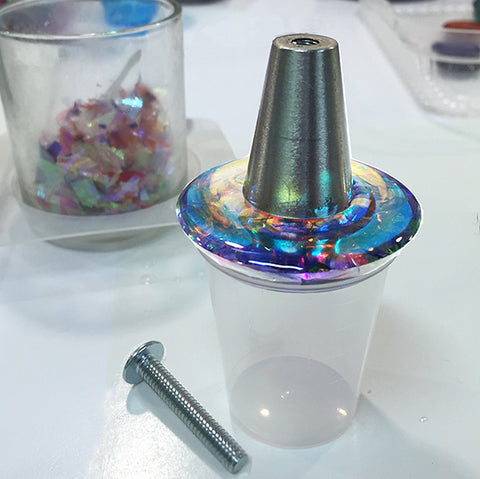
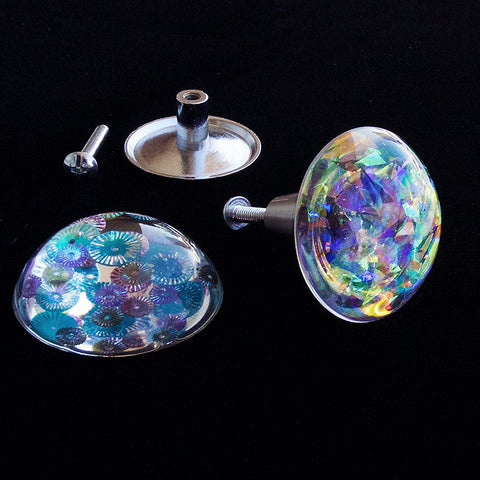
Once your piece is made, you can add another thin layer of resin to the back and embed a finding, to make a bail or link, or turn your pieces into all types of jewelry, buttons, and decorative pieces, like the handles below.

Glue on flat-back bails:
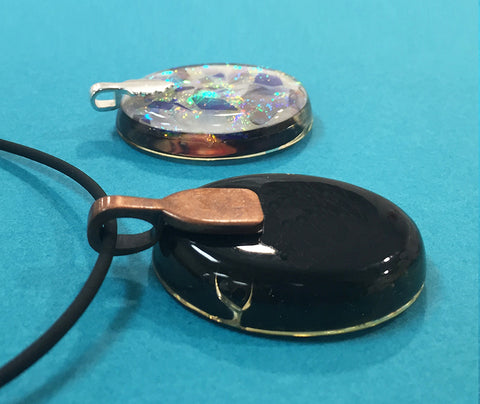
A drop or two of resin is the very best way to create a permanent, waterproof bond, and you can mix a batch as small as 6ml Part A + 3ml Part B to do this.
If you don't have any handy you can also use E6000 or another strong adhesive, just make sure you use it outside or in a well ventilated area, as it really stinks and it's not healthy to breathe (or get on you).
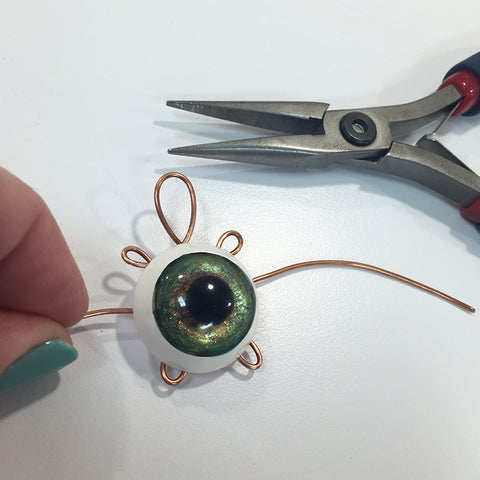
Wire wrap your pieces:
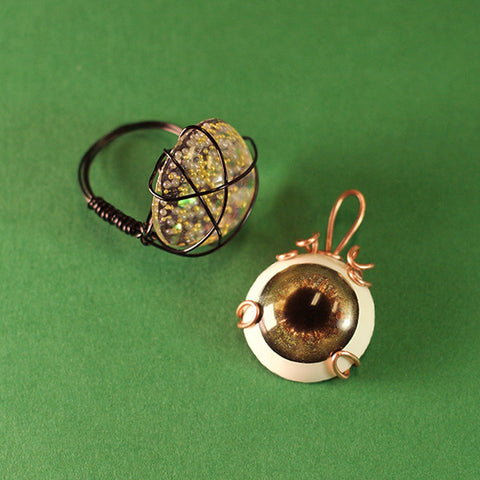
Mount your resin piece in a Bezel:


Mount your casting in Polymer Clay:
You can work polymer clay around your cast resin pieces, and bake them together as long as you don't exceed the time or temperature recommended on the polymer clay packaging. After baking you can add findings through the polyclay.


Or, you can first bake your polyclay pieces, then Dome Up with Brilliant Resin, and add findings after.

Orrrr, bake your polymer clay into bezels with built-in handles, then Dome Up with Brilliant Resin after, like Amazing Maker Sue Herst did in these beauties:

Tutorials for the techniques above:
In this how-to video, you can fast-forward to 11:38 for a focus on findings:
And here's a demo of clean and easy drilling with our Spring Drill:
Brilliant Project Ideas
- Make Curved Holes!
- Sideways and Curved Holes
- Framed Cabochons with Charms, Inks, Metallic Pigments
- Intro: How to make Oval Cabochons, frames, dishes, ...
- Ocean Theme Bookmarks and Earrings
- Beautiful Bangles from Leftovers
- Make Holes Without Drilling!
- Flat Pour Resin Jewelry with Super Metallic Pigments
- Super Metallic Pigments - Casting in Molds
- Fused Dichro-ISH Heart Dish & Pendant
- Dichro-ISH Fusion Cabochons
- Dichro-ISH Fusion
- Glow In The Dark Resin Eyes
- Spidey Dichro-ISH Pendants
- Colored Wire in Resin
- Glowy Spider Bezel Necklace
- Casting Segments and Making Jewelry
- Easy Resin Photo Keychains
- Make Resin Teardrop Jewelry
- Resin Challenge: all the BIRTHSTONES!
- Resin Cuff Bracelets Any Size!
- Resin Rainbow Cuff Bracelet
- Bangle Bracelets with Windows!
- Silver & Gold Trinket Dish
- Artistic Color-Shifting Bangles
- Resin Photo Keepsakes
- Casting with 3-in-1 Heart Molds
- Glowing Oceans Resin Jewelry
- Glowing Ocean Resin Coaster and Casting
- Bee-Beautiful Resin Pendant
- Turn Postage Stamps into Jewelry
- Dots & Spots in Resin
- Fabric-Inspired, Dichro Patchwork Resin Jewelry and Hair Clips
- Black and White Flat Pour Resin Jewelry
- Punch & Resin your Cards and Papers
- Better Ornaments, Coasters with Resin + Rings
- Precious Resin Ring Ornament with Alcohol Inks
- How to fill Open Back Bezels with Resin Backer Film
- Pour & Glow In The Dark Resin Projects
- Glowing Resin Photo Jewelry - Nightmare Before Christmas
- Glow In The Dark Resin in Mixed Bezels
- Spooky Small Bezel Projects
- Resin in Small Bezels for charms and pendants
- Washi Tape + Resin Jewelry - CASTING
- Washi Tape + Resin Jewelry - DOMING
- Resin Name Tags for our Planty Friends
- Resin Jewelry Making for Beginners - Starter Kit Tutorial
- Make Action Standees with Photos and Resin
- Convertible Resin Photo Charms
- Mimic the look of Rose Quartz in Resin


